Moving WordPress Between AWS Regions – EC2 and RDS
In previous articles, I’ve described how to set up WordPress in AWS using EC2 and RDS. In this article I’ll describe the steps I took to move the server between regions and get it working again – in my case from Sydney to Northern California.
- Stop your EC2 instance and create an image (EC2 -> Instance -> Actions -> Image -> Create Image). Wait until it’s done, when it is you’ll see it under “AMIs”. Start your AMI again if you want to avoid Elastic IP charges, or release your IP.
- Select the AMI, choose Actions -> Copy AMI. Choose your target region and click go.
- Go into RDS and create a new snapshot – you don’t have to stop it.
- Choose “Copy Snapshot” and choose your target region, click go.
- Wait for the AMI and snapshot to copy over – this could take minutes or hours. In my case an 8GB AMI seemed to take around 5 minutes – fairly impressive speed.
Setting up VPC and Subnets
I followed my earlier guide to create a VPC, but for some reason the VPC Wizard created two route tables, so I deleted it and created a new VPC manually. Here are my steps:
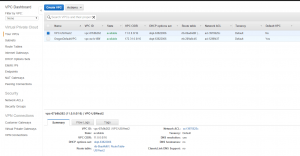
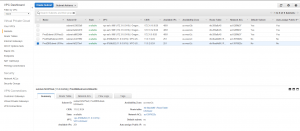
- Create a VPC, I used the CIDR 11.0.0.0/24. This created a route table for me.
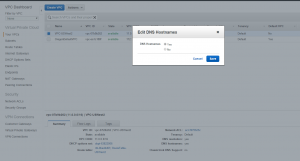
- If you want your RDS instance to be publicly accessible select your VPC then choose Actions -> “Edit DNS Hostnames” and choose yes.
- Create an Internet Gateway, and attach it to my VPC.
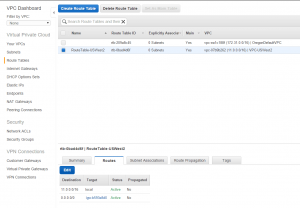
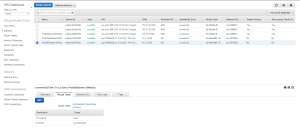
- Add a new route with destination 0.0.0.0/0 to my new internet gateway.
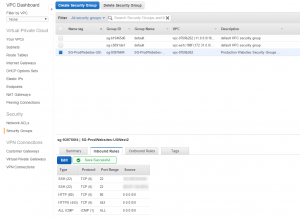
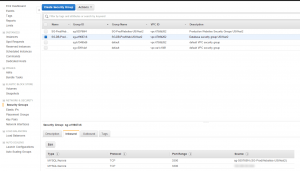
- Create a new security group for my web server. I added inbound rules that allow http and https to 0.0.0.0/0 (anywhere) plus routes for SSH to my home and work IP addresses. My old VPC had TCP ports 1024-1048 open to the world as well, but I can’t remember why, so I’ll not put that back unless something doesn’t work.
- Create a new security group for my database server, in RDS. This simply allows access on port 3306 from the website security group.
- Create a new subnet for my production web server, and another two for my production RDS database server (RDS requires two subnets in two AZs). I used CIDR’s 11.0.1.0/24 for web and then 11.0.2.0/24 and 11.0.3.0/24 for DB. The route table was set up for me automatically.
- In your route table for the VPC go into subnet associations. Hit edit, and add both your website and database subnets.
Setting up EC2 Instance Based on AMI
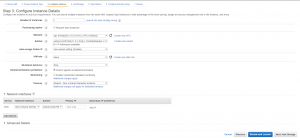
- Go to the AMI screen, select the AMI you copied from another region, and go through the process to create a new EC2 instance. Make sure to select the VPC and subnets you previously set up.
- Make sure you download your new private key, then use puttygen to convert it from pem to ppj format (SSH2 RSA). Details on this AWS page.
- Allocate a new Elastic IP and associate it with your instance.
- Log in using Putty and your new private key.
Setting up MariaDB from a Database Snapshot
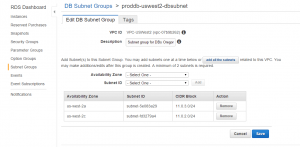
- Set up a DB Subnet Group. Make sure to select the VPC you created, in the same AZ as your web server, to minimize latency. You have to add two subnets, each in a different AZ, but you don’t have to use both.
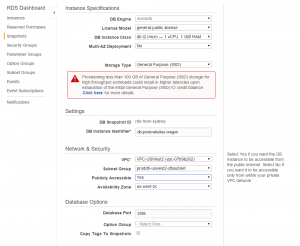
- Go to the RDS Snapshots screen and choose “Restore Snapshot”. Make sure to choose a db.t2.micro, single AZ deployment. You can choose to make your RDS instance publicly accessible if you want to – I find this useful as then I can use proper visual database tools rather than just the command line. You can of course restrict access using security groups or network ACLs.
- Wait 5 – 10 mins
- Grab your endpoint URL and copy it to anywhere that needs a database connection.
- Redo your database grants, as your IP addresses and such will have changed.
Troubleshooting
Nothing ever goes 100% right first time. In my case:
- I had put the RDS instance into the wrong security group, so I spent a little time tracking that down. The key was telnetting from EC2 to RDS to test connectivity: telnet (rds endpoint) 3306.
- I’d forgotten to redo the grants.
That’s it. All in all it was fairly simple, even with the little problems it only took me a couple of hours.
Screenshots
These screenshots may be helpful, giving additional details. Click on the thumbnails to enlarge them.
Facebook Comments
